Here is the info for the rotary:
On your machine in the right-hand side lower panel, you will see a driver for the Y-motor. This driver has a series of DIP switches pictured below.

The rotary motor takes over for the Y-axis but needs lower power. To adjust this we will turn switch 3, 4, and 7 to ON and turn switches 2 and 6 back up (OFF). NOTE: Turn this switch back when not using the rotary or you can risk damage of you Y-axis motor.
Next I'm going to get you to enable the Main screen switch for the rotary.
Go into the settings menu that is shown below.

Turn on the Show rotary enable on the main screen option seen below

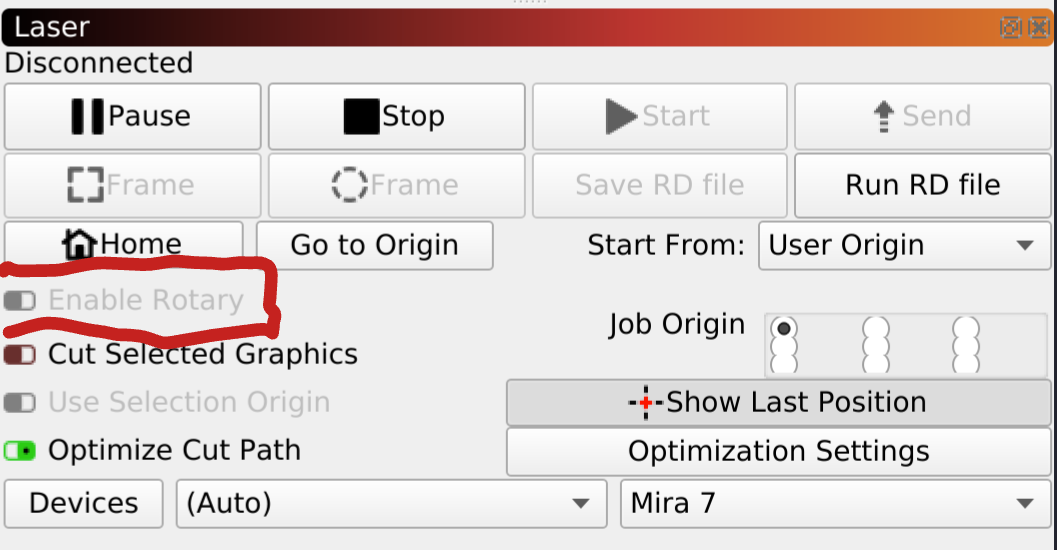
Now you will have an enable rotary option located below your pause and play controls.
Next go into the rotary setup menu
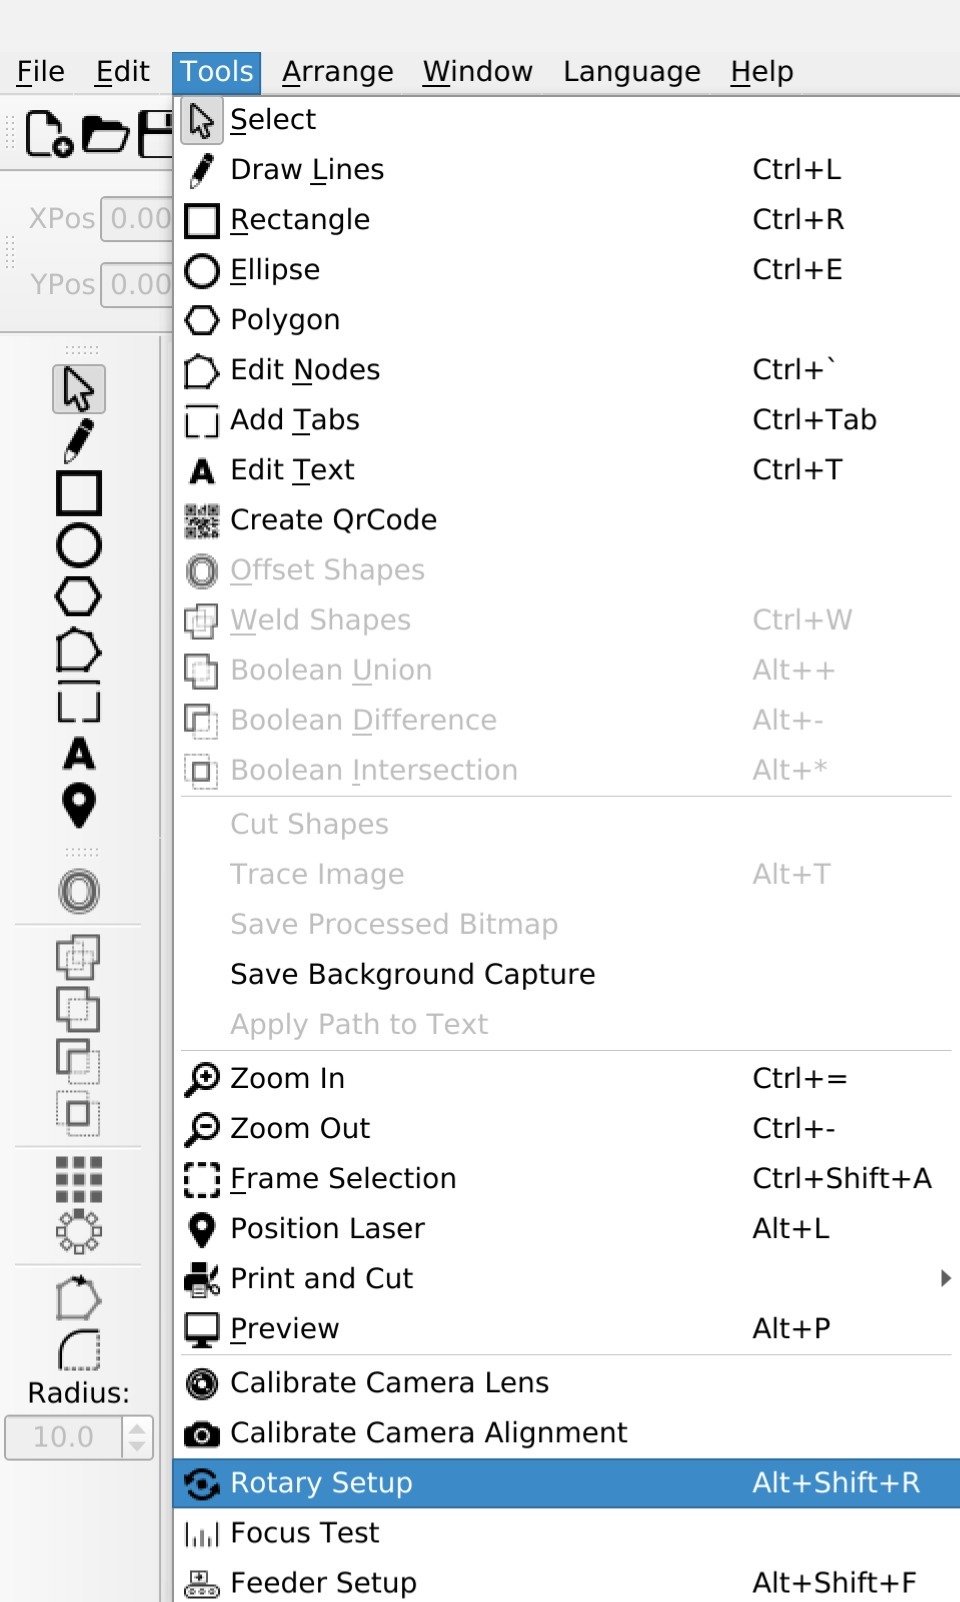
Then choose the Chuck rotary option and fill in the following settings

Then whenever you are using your rotary ensure the enable rotary switch is on and turn it off whenever you disconnect it.
Recently our supplier changed our rotary motors, so the steps per rotation may not be accurate, changing this from 10000 to 6000 seems to have helped some customers but I'd recommend starting at 10000 and going from there. If you are having difficulty with the sizing after trying both the step values, send me an email and I will give you a call.
Was this article helpful?
That’s Great!
Thank you for your feedback
Sorry! We couldn't be helpful
Thank you for your feedback
Feedback sent
We appreciate your effort and will try to fix the article